Setting up a static IP address is a prerequisite for configuring port forwarding. If you have issues with your NAT type or difficulty connecting to certain online games, you may need to configure port forwarding on your router. Port forwarding is a way to expose specific ports directly to the public-facing internet bypassing the firewall in your router.
Before you can set up port forwarding, you must assign a static IP address to your Xbox Series X or Xbox Series S console. I will show you how to set up a static IP address from within your router. This will be the easiest method for most people, especially where you will need to log in to your router to configure port forwarding anyways. This method will also ensure that you do not get IP address conflicts on your network, something many people either don’t understand or overlook.
Table of Contents
s
Find Your Router’s IP Address
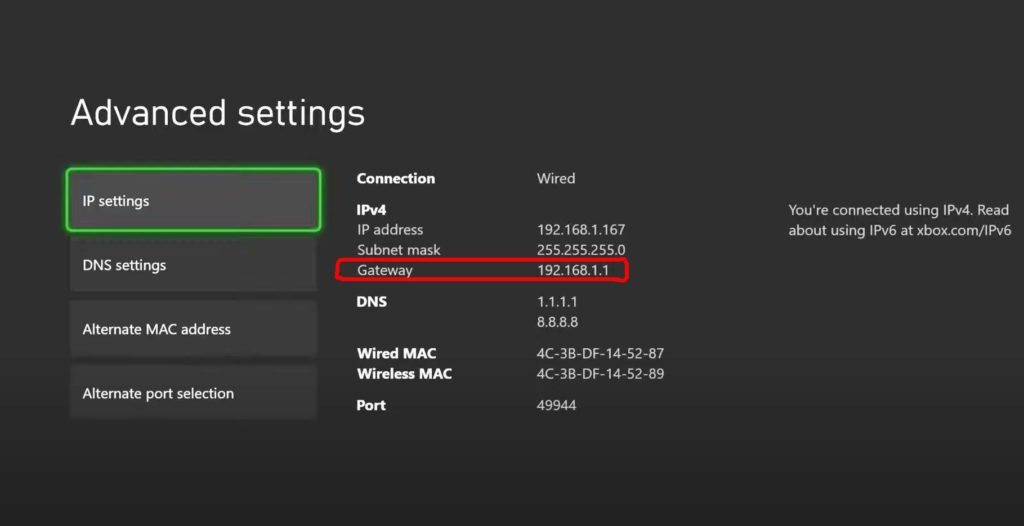
The first step to setting up a static IP address is to locate the IP address of your router. On an Xbox Series X|S console, this can be found by opening up your network settings, selecting advanced settings, and then IP settings. You will then look for the IP address listed under gateway. It will generally begin with either 192, 172, or 10 and will likely end in 1. When you find your gateway IP address, you will want to write it down or snap a picture of it for the next step. You will also want to write down the MAC address and IPv4 address.

Log in to Your Router
You will want to complete the remaining steps on your computer, it can be either a PC or Mac. It will make the process much easier. If you do not have access to a computer, they can also be completed on a tablet or smartphone. Using a computer is highly recommended, given the small text on your router configuration settings page.
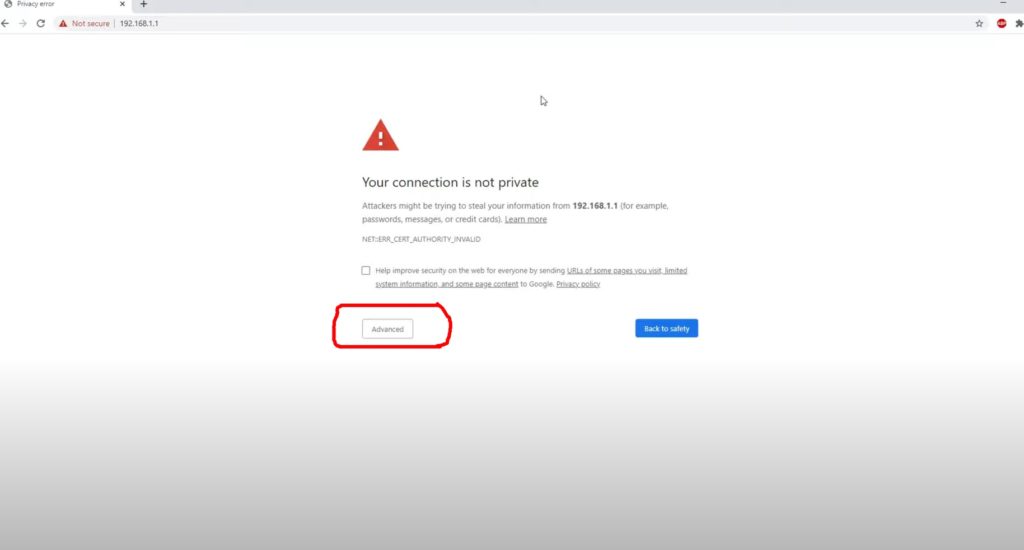
Open your web browser. I use Chrome, but this process will also work in any modern web browser, including Safari, Edge, Firefox, etc. In the address bar, enter the gateway IP address you wrote down from the previous step and press enter.
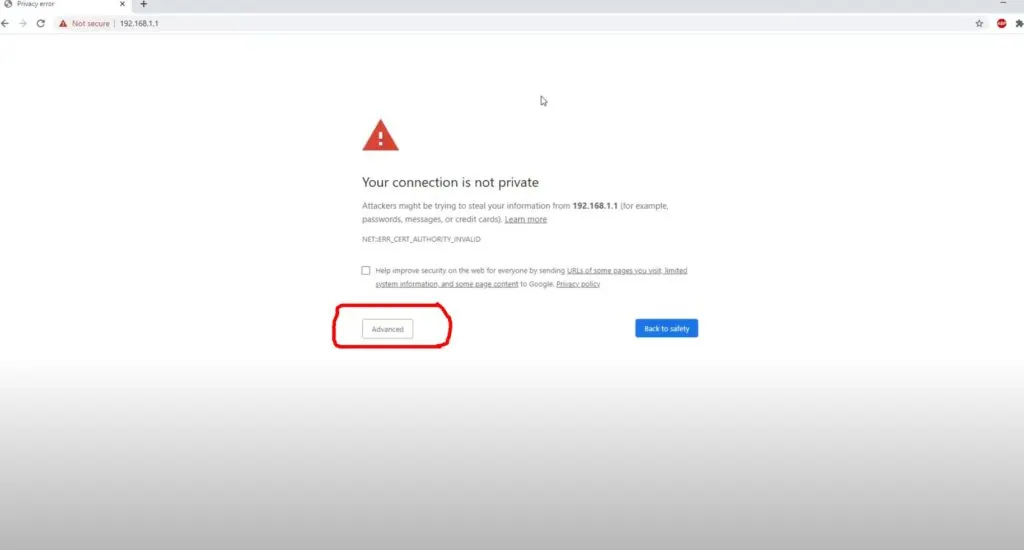
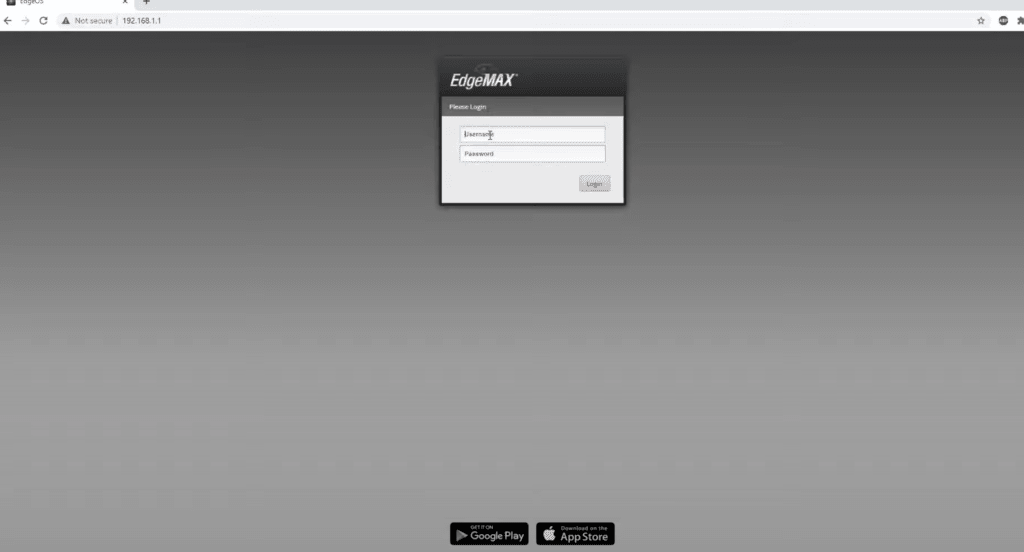
This will open your router’s login page. You may get a security warning because many routers use a self-signed SSL certificate. This is completely normal and not a cause for concern. Simply choose to proceed anyways. You may need to click advanced to expose this option if you use Chrome.
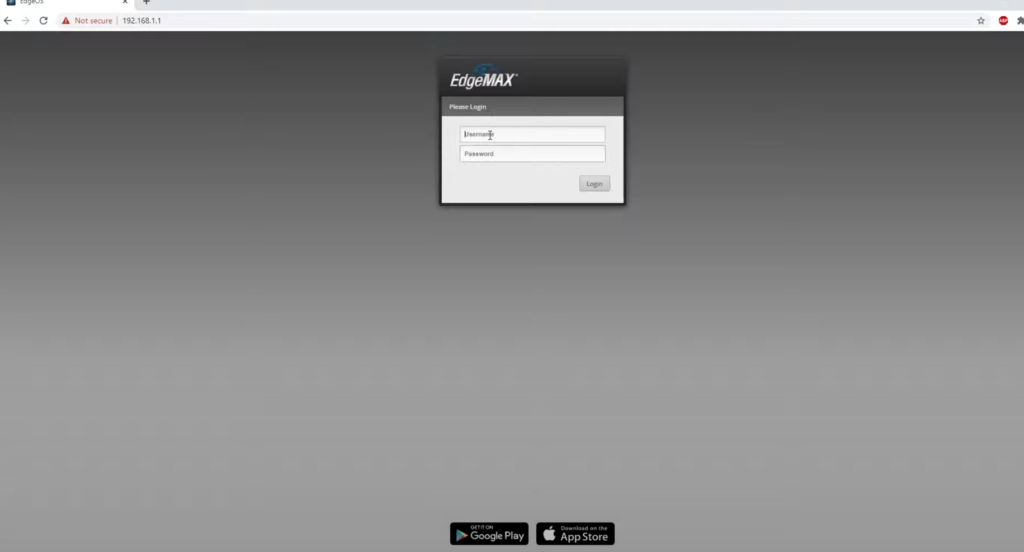
From here, you will reach the login page of your router. If you changed your login credentials when you set up your router, you will enter them here. If you did not change your login credentials, you will enter the default credentials for your router. Sometimes they are printed on the bottom of your router. If not, simply Google the brand of your router and look up the default login credentials.
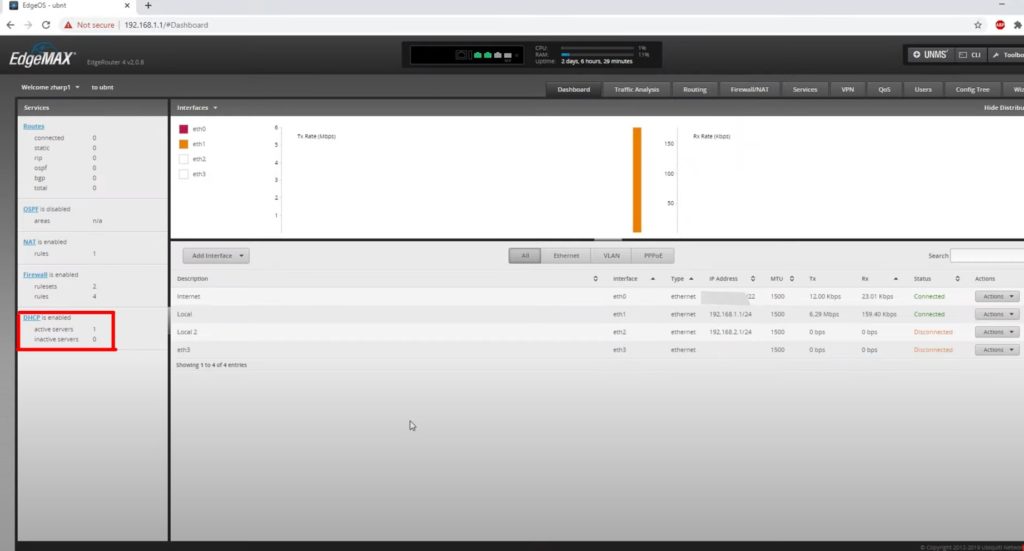
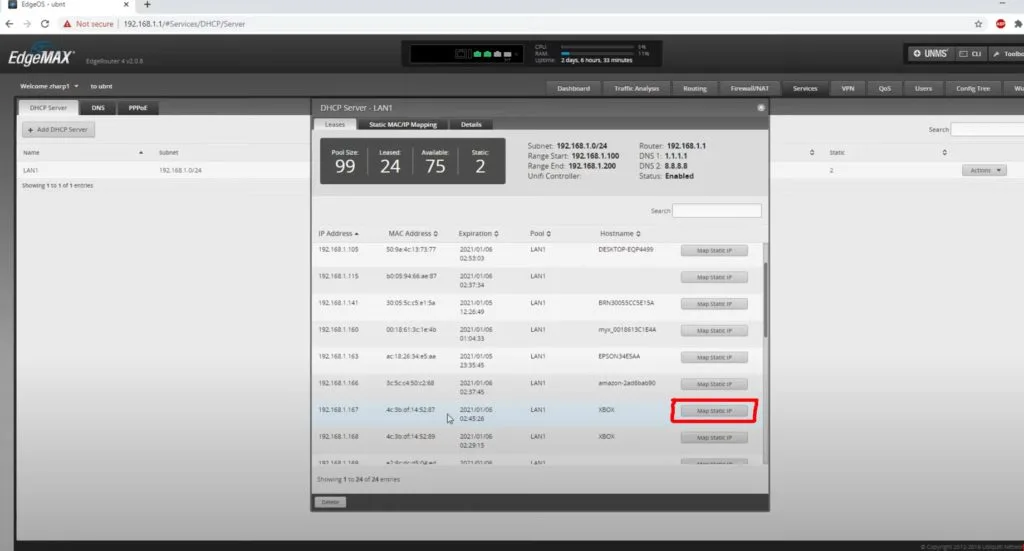
Once you enter your login credentials successfully, you will reach the admin dashboard of your router. From here, you will want to find your DHCP settings. On some routers, this will be listed under LAN settings. On others, it will be directly on the initial dashboard screen. Your router will likely look slightly different than mine, but most routers will have a DHCP settings page. Once you find your DHCP settings page, you will want to open it up.
Find Your Xbox Series X From Your Routers Client List
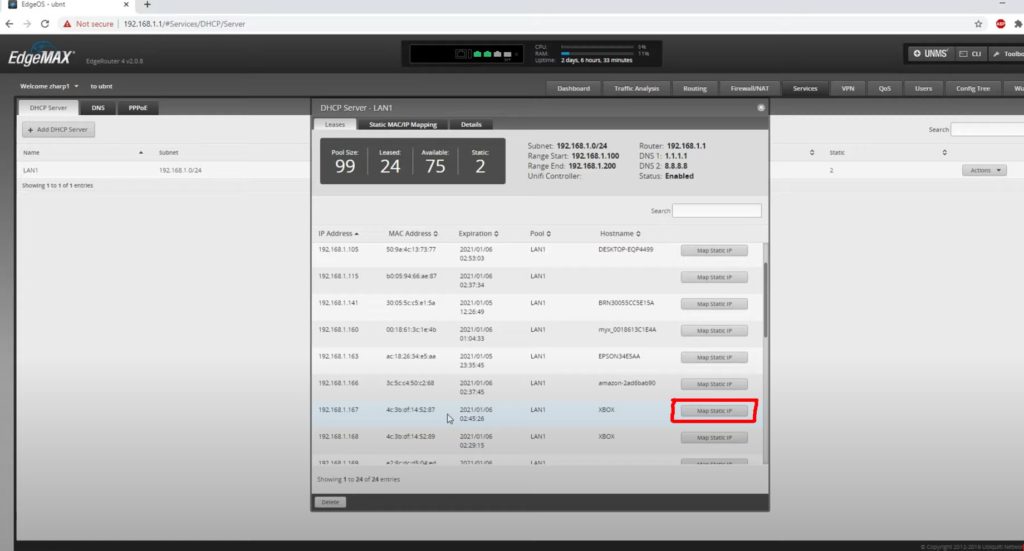
Now that you have opened up your DHCP settings, you will want to find your console in the list of connected devices. Depending on how many devices are connected to your router, this list may be short or long. If you are unsure which device is your Xbox Series X console, you can look for the IPv4 address or MAC address that matches your console.
It is very important that we identify the correct device during this step.
Set Your Xbox Series X IP Address as Static
Once you find your console, you will want to set the IP address as static. These will be called different things depending on the brand of your router. It is usually either set IP as static, reserve this IP address, create DHCP reservation, or something similar. You will select this option to ensure that your Xbox Series X|S console is always assigned the same IP address.
From here, your Xbox Series X|S console has successfully been configured with a static IP address. There are no settings that need to be changed on the console itself when using this method, as the router assigns the static IP address to the console automatically.
I would recommend using this method of setup for most people because it is simple and avoids the possibility of an IP conflict occurring. IP conflicts can occur if your router tries to assign an IP address to a device when another device is already using this IP address. The easiest way to avoid this is to let your router handle assigning all of your IP addresses.


On the unlikely chance that your router doesn’t have the ability to reserve IP addresses, there is also the option of manually configuring a static IP address on the console itself. I would strongly recommend avoiding that method if at all possible, as it is more complicated to configure properly.
If you want to use this other method, first, you will need to find the IP address of your Xbox Series X | S
FAQ
Does IPv4 work on Xbox series X
Yes, the Xbox Series X works fine with just IPv4 assuming you have your router set up properly. Using IPv6 can be beneficial in some situations. This is especially true for cellular-based internet connections that use CGNAT on the IPv4 side.
Does Xbox use IPv4 or IPv6
Xbox can use both IPv4 and IPv6 connections to Xbox Live. It is best to have both available to your Xbox. It will use one or the other automatically based on what is best for your situation. Xbox will work just fine with IPv4 only, however. Having both IPV6 and IPv4 enabled on your Xbox is ideal.