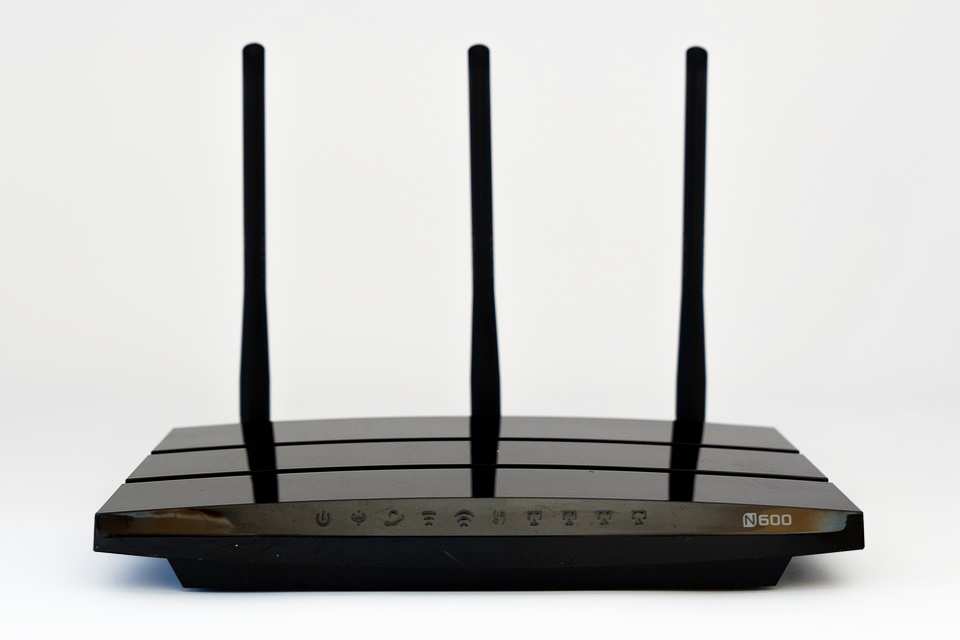
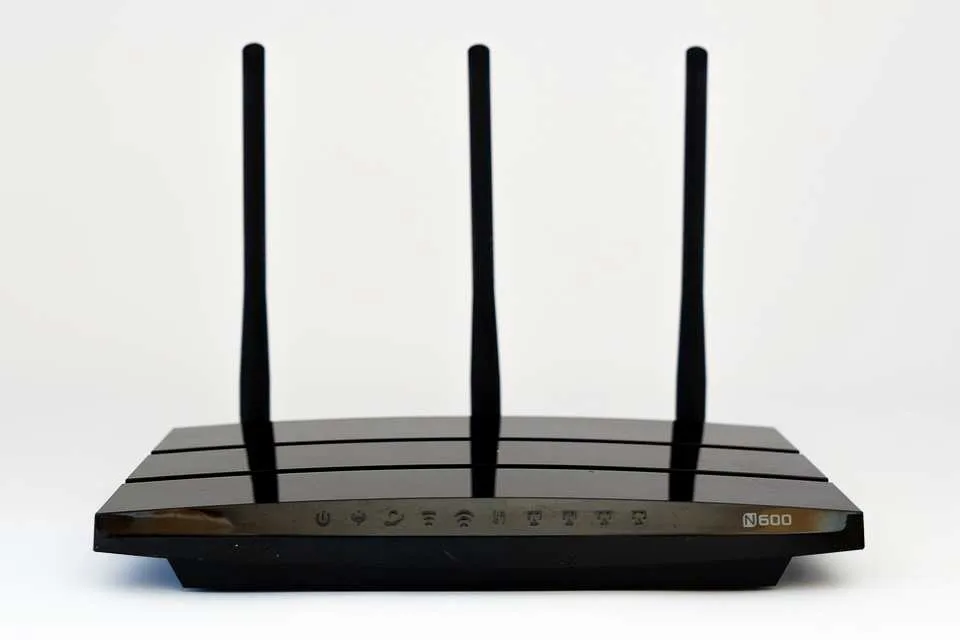
The included Starlink router has an effective Wi-Fi range of up to 200 feet line of sight or about 75 feet when going through some interior walls. This generally equals between 1,500 and 2,000 square feet of indoor coverage.
The range of the included Starlink router is about the same as that of a typical consumer-grade router from a brand such as Netgear, Linksys, or TP-Link. Wi-Fi range is primarily limited by FCC regulations that dictate the maximum output wattage that can be used. Most Wi-Fi router manufacturers design their devices to operate right up to the limit set by the FCC or the governmental agency in charge of RF spectrum management in your country.
Brick, stone, concrete, and steel will all reduce the effective range even more drastically. Wi-Fi signals do not pass through dense materials easily.
Learn About How Many Devices the Starlink Router can Actually Support
How to Extend Starlink Router Wi-Fi Range
There are a number of ways that the range of your Starlink router can be extended. These vary in cost from free to hundreds of dollars and in complexity from simple to involved. Here are the top ways to extend the range of your Starlink Wi-Fi router’s signal.
- Move the router to a higher location.
- Connect on the 2.4 GHz band.
- Move the router away from sources of interference, such as cordless phones and microwave ovens.
- Purchase the Starlink Mesh kit.
- Purchase the Starlink ethernet adaptor and connect a wireless access point where additional coverage is needed,
- Purchase the Starlink ethernet adaptor and connect a 3rd party mesh Wi-Fi system such as the Netgear Orbi, Google Nest Mesh Wi-Fi system, or Ubiquiti AmpliFi mesh Wi-Fi system.
- Purchase the Starlink ethernet adaptor and connect a powerline adaptor and connect the other powerline adaptor to a wireless access point where additional coverage is needed.


Connecting devices that are further away on the 2.4 GHz band can help them to maintain their connection stability. The 5 GHz band is undoubtedly faster and better all around. However, range is the one thing that physics dictates that 2.4 GHz will always do better than 5 GHz. Connect your devices to the 2.4 GHz band for maximum range. Otherwise, the 5 GHz band is generally going to be much faster, especially at ultra-short range.
Moving the router away from sources of interference, such as microwave ovens, baby monitors, and some cordless phones, can help to improve the range and stability of your Starlink router’s Wi-Fi signal.
Starlink offers an official mesh Wi-Fi kit that you can purchase to use with your Starlink wireless router. This is the simplest way to substantially increase the range of your Starlink router’s signal. There are, however, other 3rd party mesh systems that offer better performance.
If you have ethernet wiring in your building, you can place a wireless access point where additional coverage is needed and then connect it to your Starlink Wi-Fi router using the Starlink ethernet adaptor. This is going to offer the best performance because the additional wireless access point(s) are hardwired to the Starlink router.
Using a 3rd party mesh Wi-Fi system such as the Netgear Orbi, Google Nest Mesh Wi-Fi system, or Ubiquiti AmpliFi mesh Wi-Fi system is a great option. The AmpliFi system is truly amazing in terms of both speed and stability. You will need to purchase the Starlink ethernet adaptor to use a 3rd party mesh system with Starlink.
Powerline networking is another technology that you may want to explore as a means of extending your network. With powerline networking, you essentially get a plug-and-play ethernet bridge that requires no running of cables. It uses your existing household AC wiring to carry the data signals. You can then connect a device at the other end, such as a computer, ethernet switch, or wireless access point.
FYI: If you do opt to use a 3rd party router and the Starlink ethernet adaptor, make sure to enable bypass (bridge) mode on your Starlink router. This will prevent another layer of NAT from occurring on your network. As it is, you are already double Natted.
Starlink Router Placement
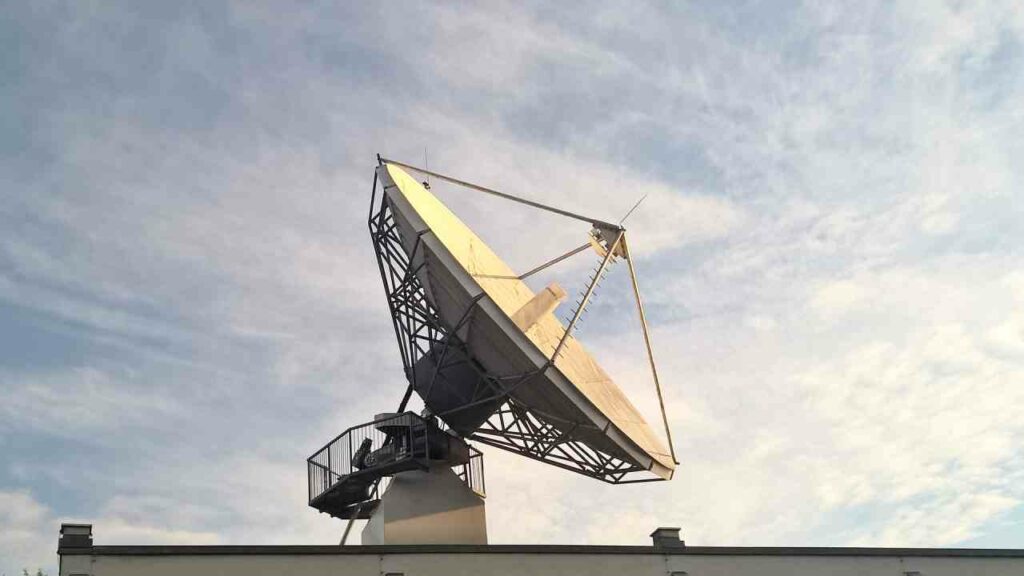
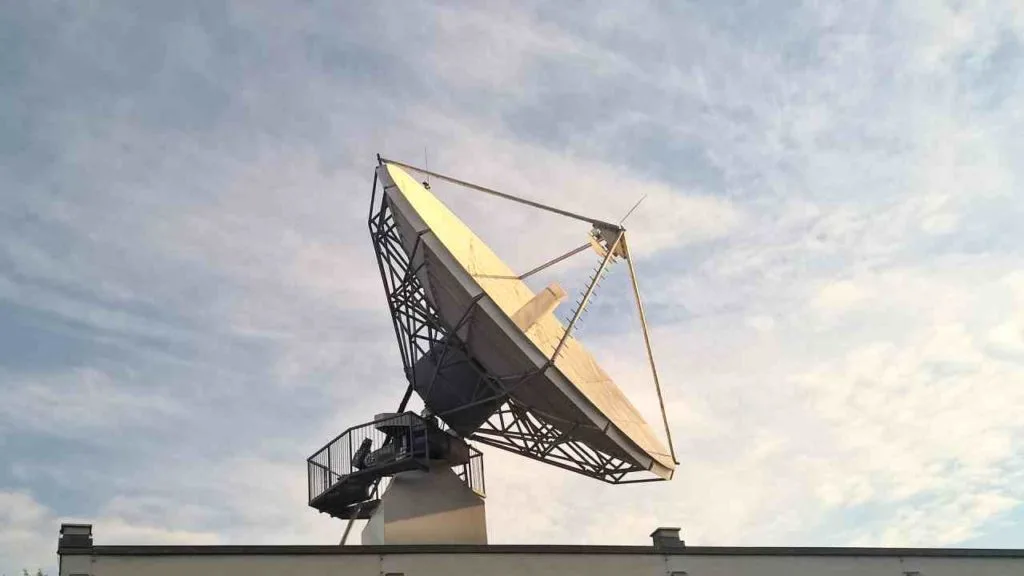
Moving the Starlink router to a higher location is a simple and free method that can often improve the range of your Wi-Fi signal a bit. This will not work any miracles. but it can be helpful in certain situations. Some possible ideas are placing your Starlink Router in an open space on the highest floor of your home, on a high shelf in an open space, or keeping it away from metal objects that can block the signal.
Using a 3rd Party Router
Starlink uses carrier-grade NAT (CGNAT) technology rather than providing everyone with their own public IP address. When you connect a router, that becomes the second layer of NAT. At that point, you are double natted.
If you were to connect a 3rd party router and not enable bypass (bridge) mode. you would be triple Natted. That is not what you want to do.
Conclusion
The included Starlink router has an effective Wi-Fi range of up to 200 feet line of sight or about 75 feet when going through some interior walls. There are a number of ways to extend the range of the Starlink router’s WiFi Signal.
These range from simple free solutions to purchasing additional hardware and potentially running ethernet cables. Mesh systems, whether from Starlink or a 3rd party, are also a popular choice but not as fast as a direct ethernet connection.